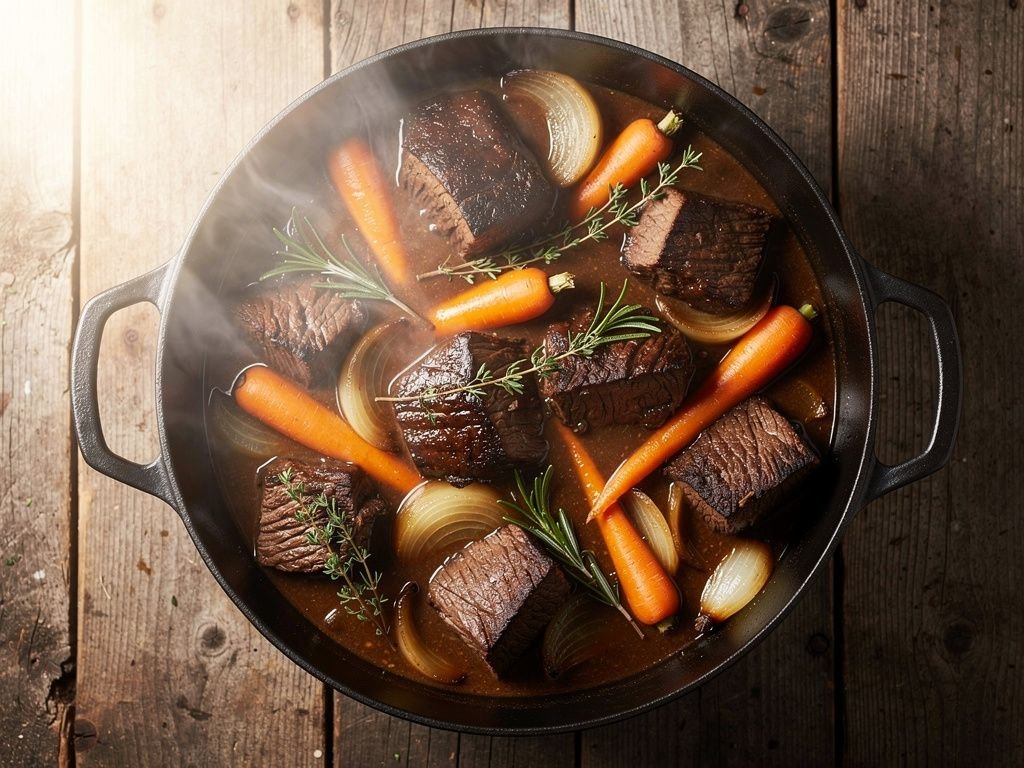
Braising is one of those techniques that intimidates home cooks far more than it should. At its core, braising is just a three-step process: sear, add liquid, and cook low and slow until tender. Once you internalize that structure, you can braise almost anything, from a tough beef chuck roast to a humble bag of carrots, and get consistently good results.
The searing step matters more than most people realize. Pat your protein completely dry before it hits the pan, and resist the urge to move it around. A deep golden crust builds flavor compounds through the Maillard reaction that no amount of simmering can replicate later. Work in batches if your pan is crowded, since overcrowding drops the pan's temperature and steams the meat instead of browning it.
For the liquid, you want just enough to come roughly a third to halfway up the sides of whatever you're braising, not to submerge it completely. Stock, wine, tomatoes, or even beer all work, and you can layer aromatics like onion, garlic, and herbs directly into that liquid. The exposed top of the meat will steam and baste itself as it cooks, developing texture that fully submerged simmering doesn't achieve.
Temperature control is where most home braises go wrong. A hard boil will toughen proteins and break emulsions; you want the barest whisper of a simmer, ideally in a 300 to 325 degree oven rather than on the stovetop where temperature swings are harder to control. Budget at least two to three hours for tougher cuts, and check for doneness by seeing if a fork slides in with almost no resistance.
Once the braise is done, don't skip the reduction step. Pull the solids out, strain the liquid, and simmer it down until it coats the back of a spoon. This concentrated sauce is often the best part of the dish, and spooning it back over the meat before serving ties the whole plate together.