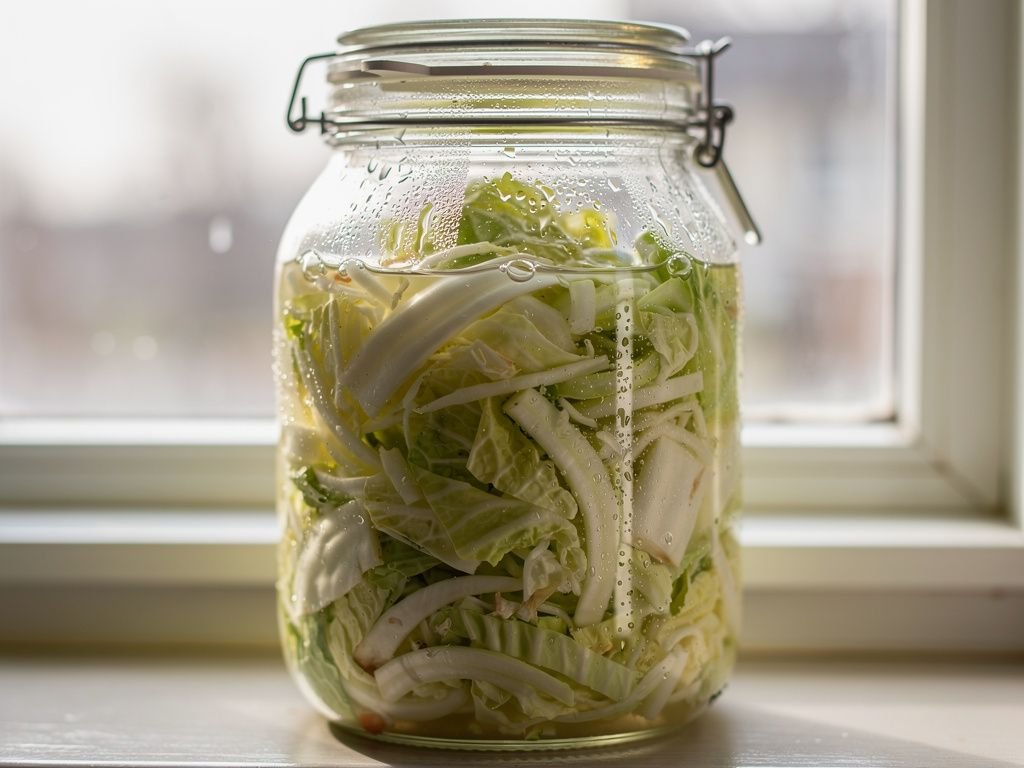
Fermenting vegetables at home sounds like a project reserved for dedicated hobbyists, but a basic lacto-fermented vegetable requires almost nothing beyond salt, water, a jar, and time. The process relies on naturally occurring lactic acid bacteria present on the vegetables themselves, which thrive in a salty, oxygen-free environment while less desirable bacteria are suppressed.
The brine ratio is the most important number to get right. A concentration of roughly 2 to 3 percent salt by weight of water is the sweet spot for most vegetables: enough to inhibit spoilage organisms without stalling the fermentation entirely. Dissolve your salt fully in water before pouring it over the vegetables, since undissolved salt crystals settling at the bottom can create uneven salinity.
Keeping the vegetables fully submerged under the brine is the single most important habit for a successful ferment. Any piece exposed to air is vulnerable to mold. A small glass weight, a clean rock, or even a water-filled zip-top bag placed on top of the vegetables will hold everything below the brine's surface throughout fermentation.
Fermentation time depends heavily on your kitchen's temperature and your personal taste. A warm kitchen in summer might produce a pleasantly sour ferment in just three or four days, while a cooler space in winter could take two to three weeks to reach the same tang. Taste every few days once you're a couple of days in, and move the jar to the refrigerator once it hits the flavor you like, which effectively pauses the fermentation.
Cabbage, carrots, radishes, and green beans are all forgiving vegetables for a first attempt. Cut them into uniform pieces so they ferment at an even rate, and always use non-iodized salt, since iodine and the anti-caking agents in table salt can interfere with the fermentation bacteria.